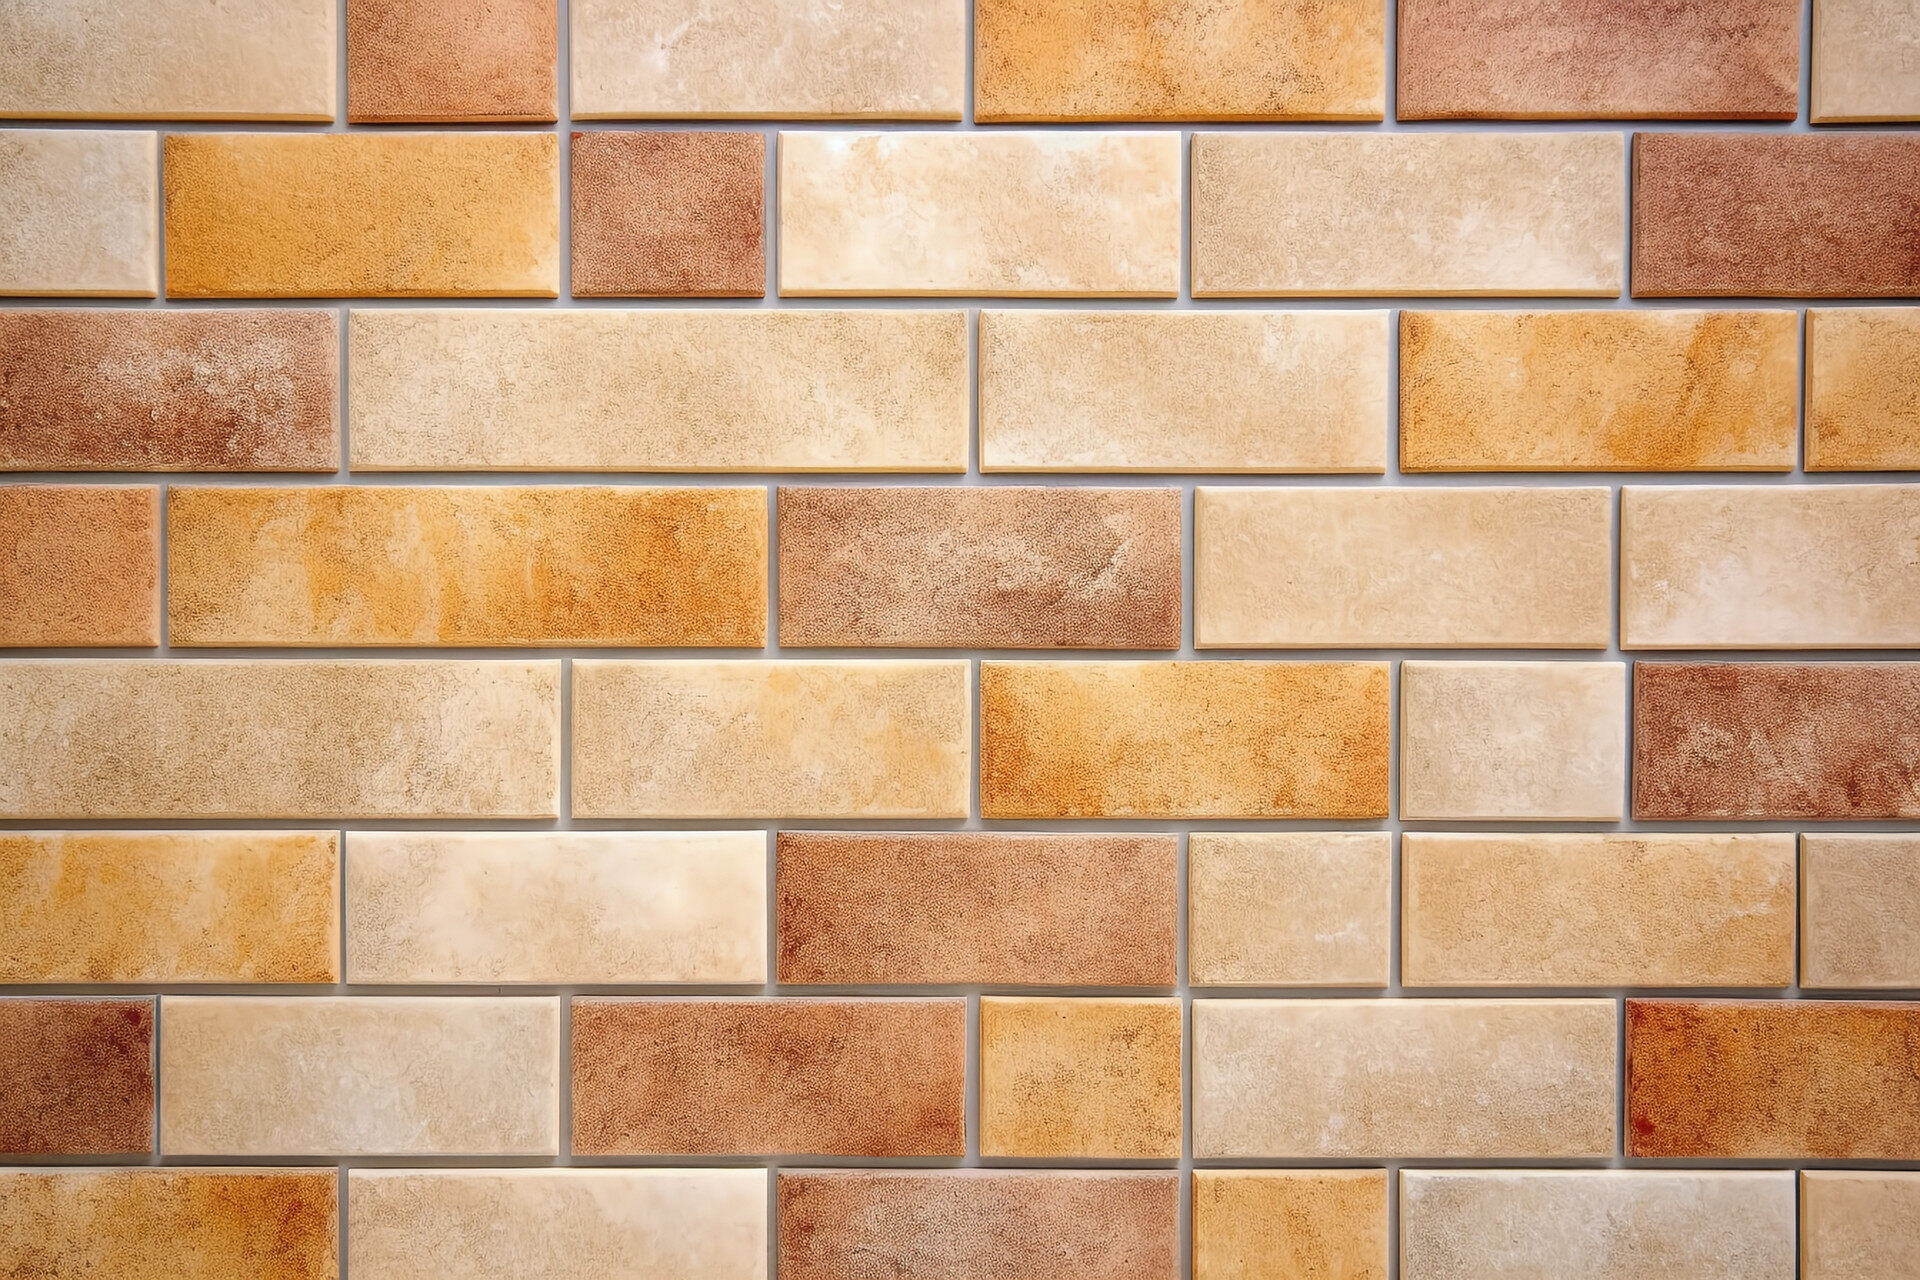
A Step-by-Step Guide: How to Install Subway Tile on a Bathroom Wall
Subway tile is a timeless and versatile choice for bathroom walls. Its clean lines and classic appeal can instantly elevate the look of any bathroom. If you’re considering installing subway tile in your bathroom, this step-by-step guide will walk you through the process, ensuring a successful and professional-looking installation.
Gather Your Materials:
Before you begin, gather all the necessary materials. This includes subway tiles, tile adhesive, a notched trowel, tile spacers, a tile cutter or wet saw, a level, a grout float, and grout. Ensure you have the correct amount of tiles, adhesive, and grout for your project.
Prepare the Surface:
Start by preparing the bathroom wall. Ensure it is clean, dry, and free from any debris. If there are any existing tiles, remove them carefully. Repair any cracks or imperfections in the wall and allow it to dry completely before proceeding.
Plan Your Layout:
Before applying adhesive, plan the layout of your subway tiles. Start from the center of the wall and work your way outwards. Use a level and a pencil to mark a straight and level guideline for the first row of tiles. This will ensure a neat and even installation.
Apply Adhesive:
Using a notched trowel, apply tile adhesive to a small section of the wall. Hold the trowel at a 45-degree angle and spread the adhesive evenly. Work in small sections to prevent the adhesive from drying out before you can install the tiles.
Install the Tiles:
Place the first subway tile at the starting point, aligning it with the guideline. Press it firmly into the adhesive, using a slight twisting motion. Insert tile spacers between each tile to maintain consistent spacing. Continue installing the tiles, following the guideline and using spacers as needed.
Cut Tiles to Fit:
As you reach the edges or corners of the wall, you may need to cut tiles to fit. Measure the space carefully and use a tile cutter or wet saw to make precise cuts. Remember to wear safety goggles and follow the manufacturer’s instructions when using cutting tools.
Allow Adhesive to Dry:
Once all the tiles are installed, allow the adhesive to dry according to the manufacturer’s instructions. This typically takes 24 to 48 hours. Avoid touching or disturbing the tiles during this time.
Apply Grout:
After the adhesive has dried, it’s time to apply grout. Mix the grout according to the manufacturer’s instructions. Using a grout float, spread the grout diagonally across the tiles, ensuring all the gaps are filled. Wipe off any excess grout with a damp sponge.
Clean and Seal:
Once the grout has dried, clean the tiles with a grout haze remover or a mixture of water and vinegar. This will remove any grout residue and leave the tiles sparkling clean. Consider applying a grout sealer to protect the grout from stains and moisture.
Conclusion:
Installing subway tile on a bathroom wall is a rewarding DIY project that can transform the look of your space. By following these step-by-step instructions, you can achieve a professional and stylish installation. Remember to take your time, plan the layout carefully, and enjoy the process of creating a beautiful subway tile wall in your bathroom.


